Woolbridge-2011
15-5-11 4x4 Trial Holywell
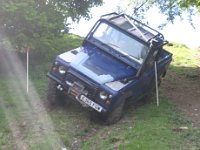
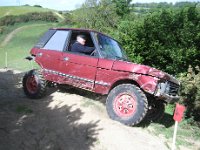
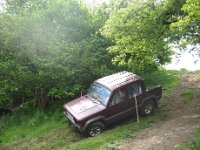
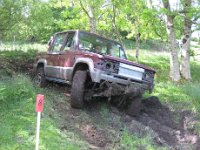
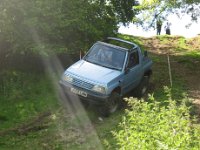
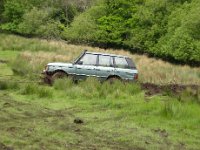
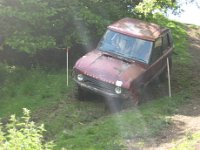
1
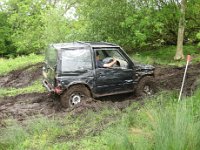
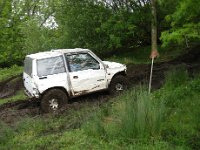
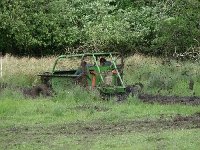
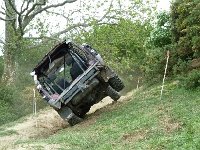
Acknowledgment - Thanks to: John Kirby for the photographs.
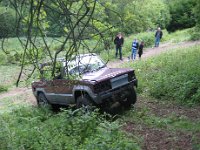
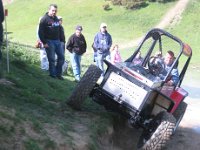
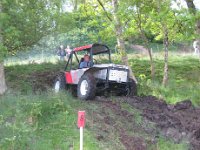
2
Acknowledgment - Thanks to: John Kirby for the photographs.
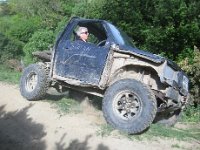
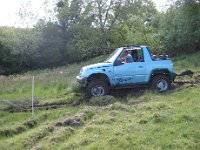
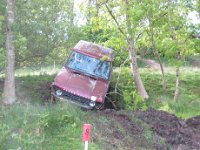
3
Acknowledgment - Thanks to: John Kirby for the photographs.
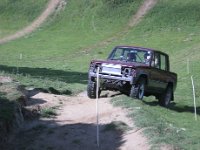
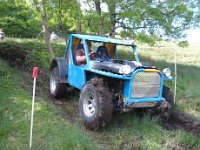
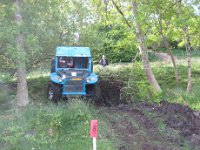
4
Acknowledgment - Thanks to: John Kirby for the photographs.
5
Acknowledgment - Thanks to: John Kirby for the photographs.
6
Acknowledgment - Thanks to: John Kirby for the photographs.
7
Acknowledgment - Thanks to: John Kirby for the photographs.
8
Acknowledgment - Thanks to: John Kirby for the photographs.
9
Acknowledgment - Thanks to: John Kirby for the photographs.
10
Acknowledgment - Thanks to: John Kirby for the photographs.
11
Acknowledgment - Thanks to: John Kirby for the photographs.
12
Acknowledgment - Thanks to: John Kirby for the photographs.
13
Acknowledgment - Thanks to: John Kirby for the photographs.
14
Acknowledgment - Thanks to: John Kirby for the photographs.
15
Acknowledgment - Thanks to: John Kirby for the photographs.
16
Acknowledgment - Thanks to: John Kirby for the photographs.
17
Acknowledgment - Thanks to: John Kirby for the photographs.
18
Acknowledgment - Thanks to: John Kirby for the photographs.
19
Acknowledgment - Thanks to: John Kirby for the photographs.
20
Acknowledgment - Thanks to: John Kirby for the photographs.
21
Acknowledgment - Thanks to: John Kirby for the photographs.
22
Acknowledgment - Thanks to: John Kirby for the photographs.
23
Acknowledgment - Thanks to: John Kirby for the photographs.
24
Acknowledgment - Thanks to: John Kirby for the photographs.
25
Acknowledgment - Thanks to: Dave Butterfield for the photographs.
26
Acknowledgment - Thanks to: Dave Butterfield for the photographs.
27
Acknowledgment - Thanks to: Dave Butterfield for the photographs.
28
Acknowledgment - Thanks to: Dave Butterfield for the photographs.
29
Acknowledgment - Thanks to: Dave Butterfield for the photographs.
30
Acknowledgment - Thanks to: Dave Butterfield for the photographs.
31
Acknowledgment - Thanks to: Dave Butterfield for the photographs.
32
Acknowledgment - Thanks to: Ian & Jayne Simmons for the photographs.
Next:
17-Apr-11 4x4 Trial Hogcliffe
Previous:
21-May-11 Wiscombe Park hillclimb


-Derek-Hibbert.JPG)